 Protégé 5 Documentation
Introduction
Protege is an OWL ontology development environment. This getting started guide forms part of the Protege Desktop user documentation and is designed to get you up and running with the tool.
In just a few minutes you should be able to install Protege, load an ontology, navigate around it, use a reasoner to classify it and configure the interface to your taste.
Download, Install and Start Protégé
If you haven’t already done so, you need to download and install Protege Desktop from the Protege website. Please follow the step-by-step instructions to install Protege.
Open the Pizza Ontology
Open the Pizza ontology from the Web. From the File menu choose Open from URL…. A dialog will be displayed asking you whether you want to open the ontology in the current window. Choose No. In the next dialog, enter http://protege.stanford.edu/ontologies/pizza/pizza.owl in the URI field and press OK.
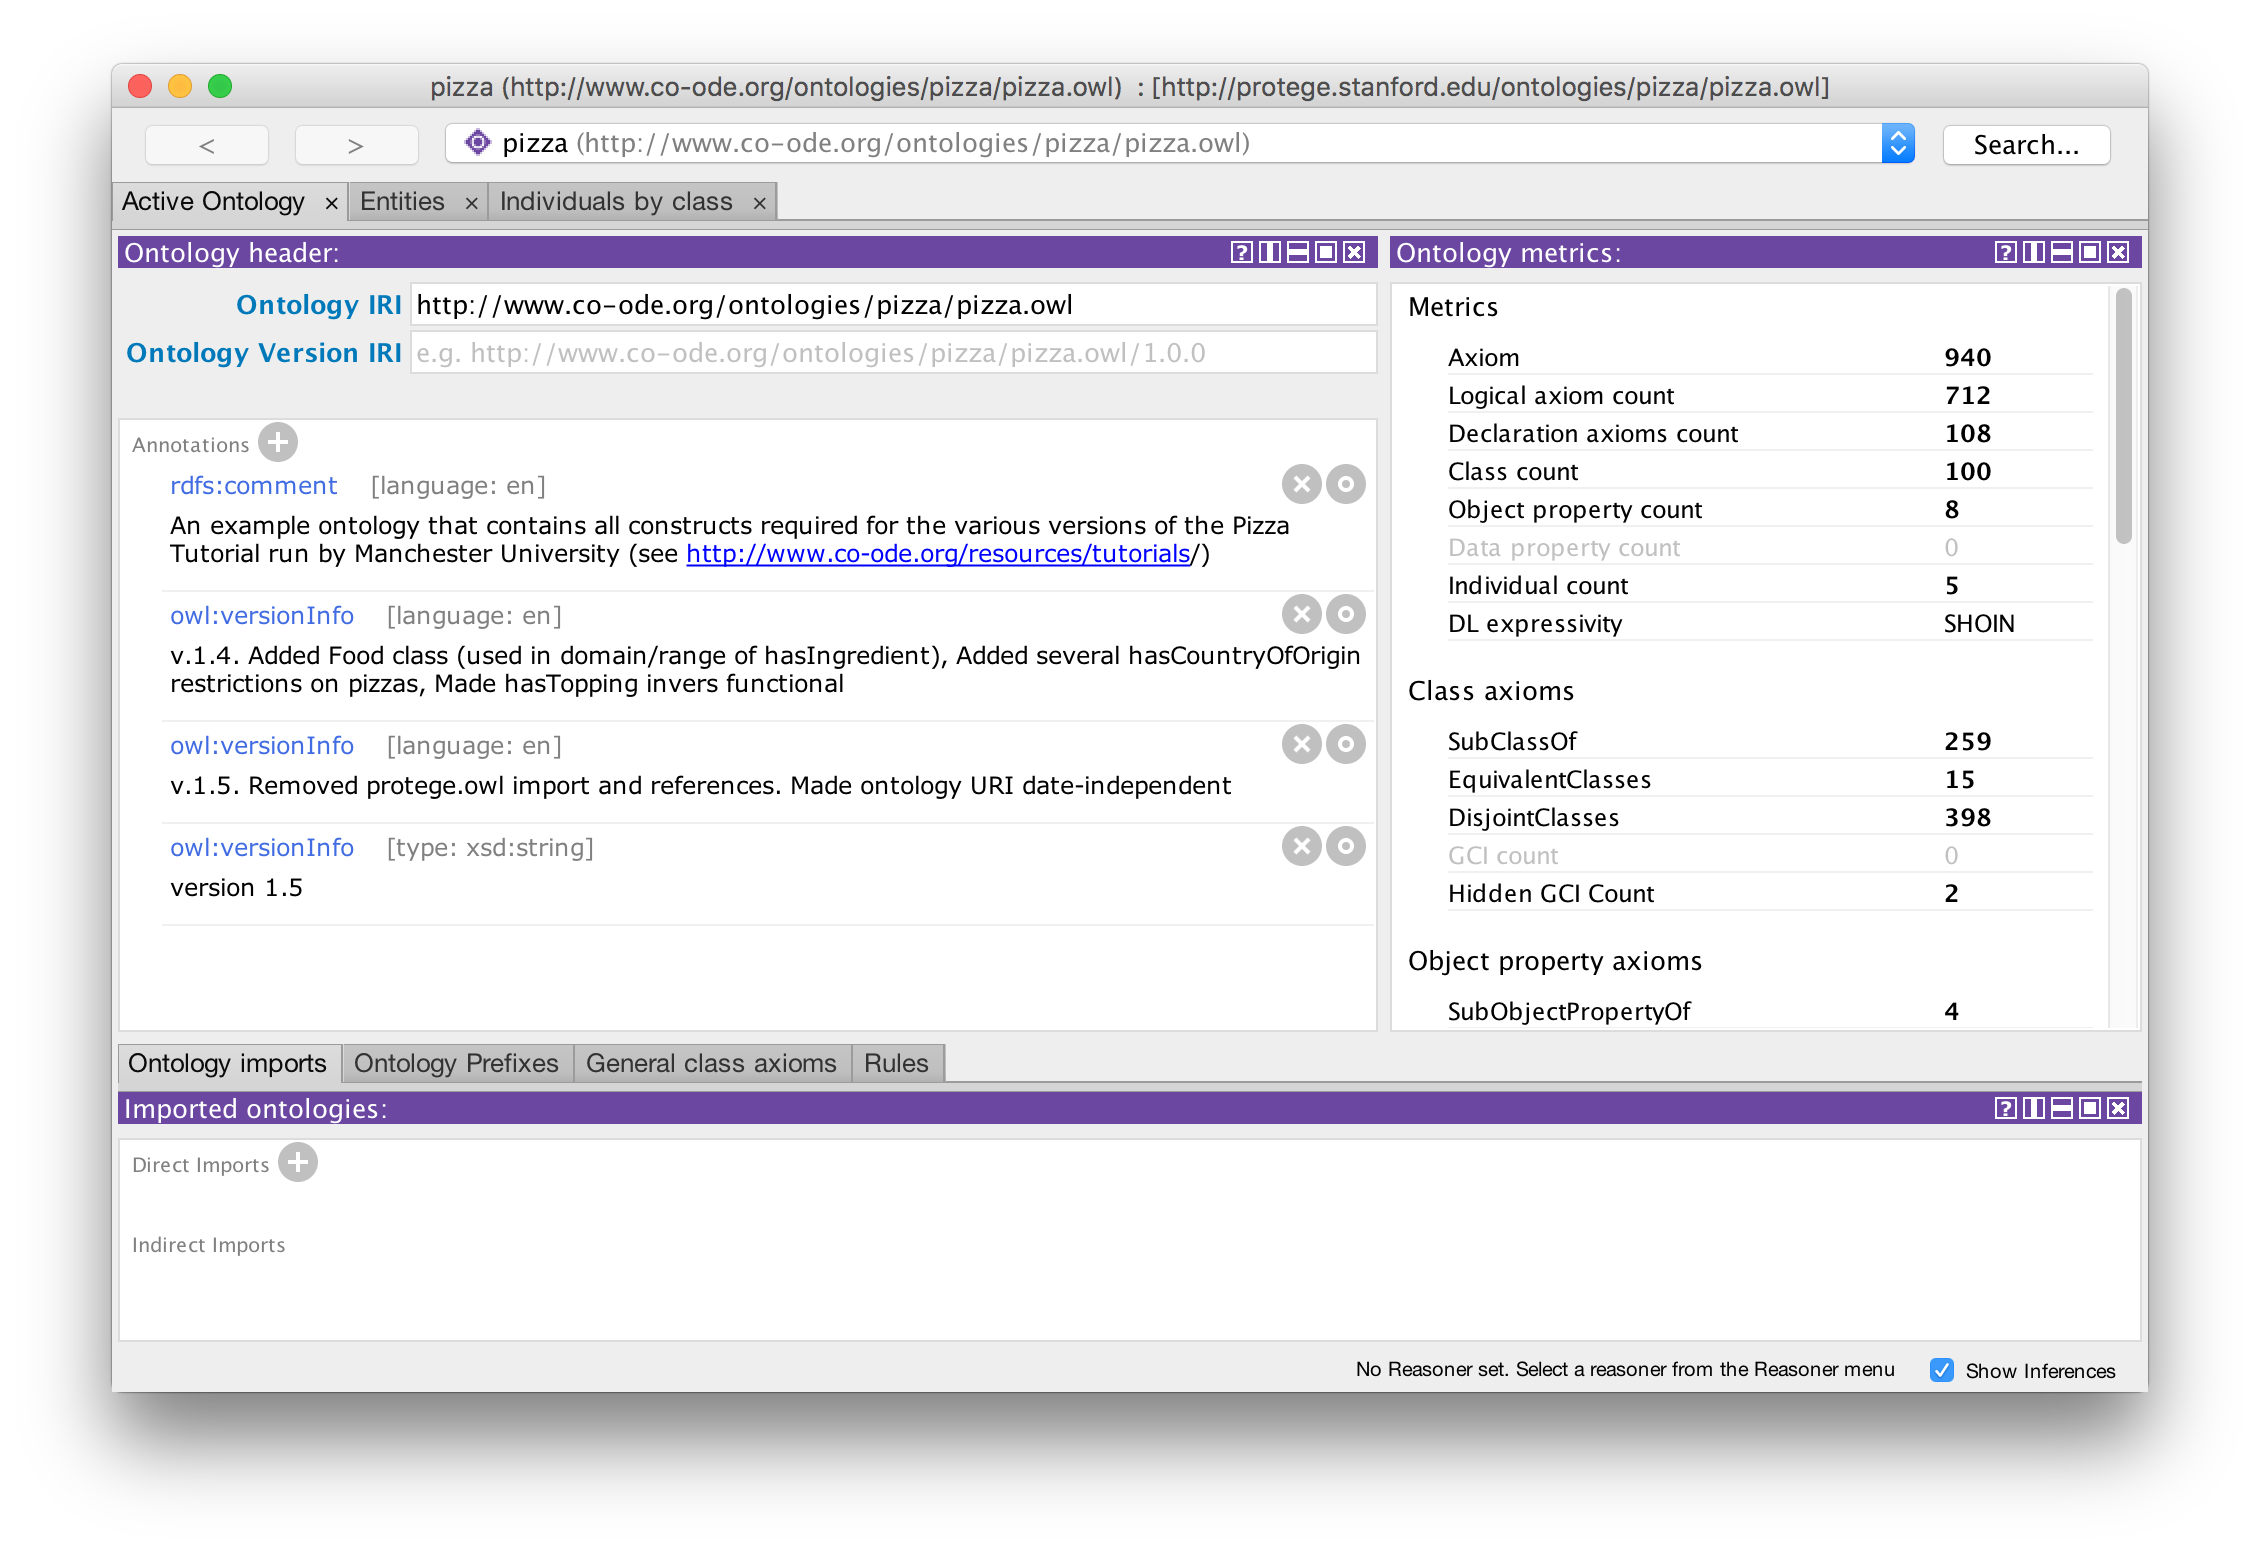
You will now be presented with the main Protege workspace, which displays the Active Ontology tab by default. This tab shows an overview of the “active” ontology, including metrics on its contents, annotations on the ontology, and imported ontologies. The drop-down box on the toolbar displays the current active ontology, that is to say, the one into which all edits take place. When working on a single ontology this concept of the active ontology is not a concern. The top right of the toolbar is home to the Search… button, which can be pressed to open the search window. This search window can also be opened by pressing CTRL+F (or CMD+F on a Mac).
Navigation
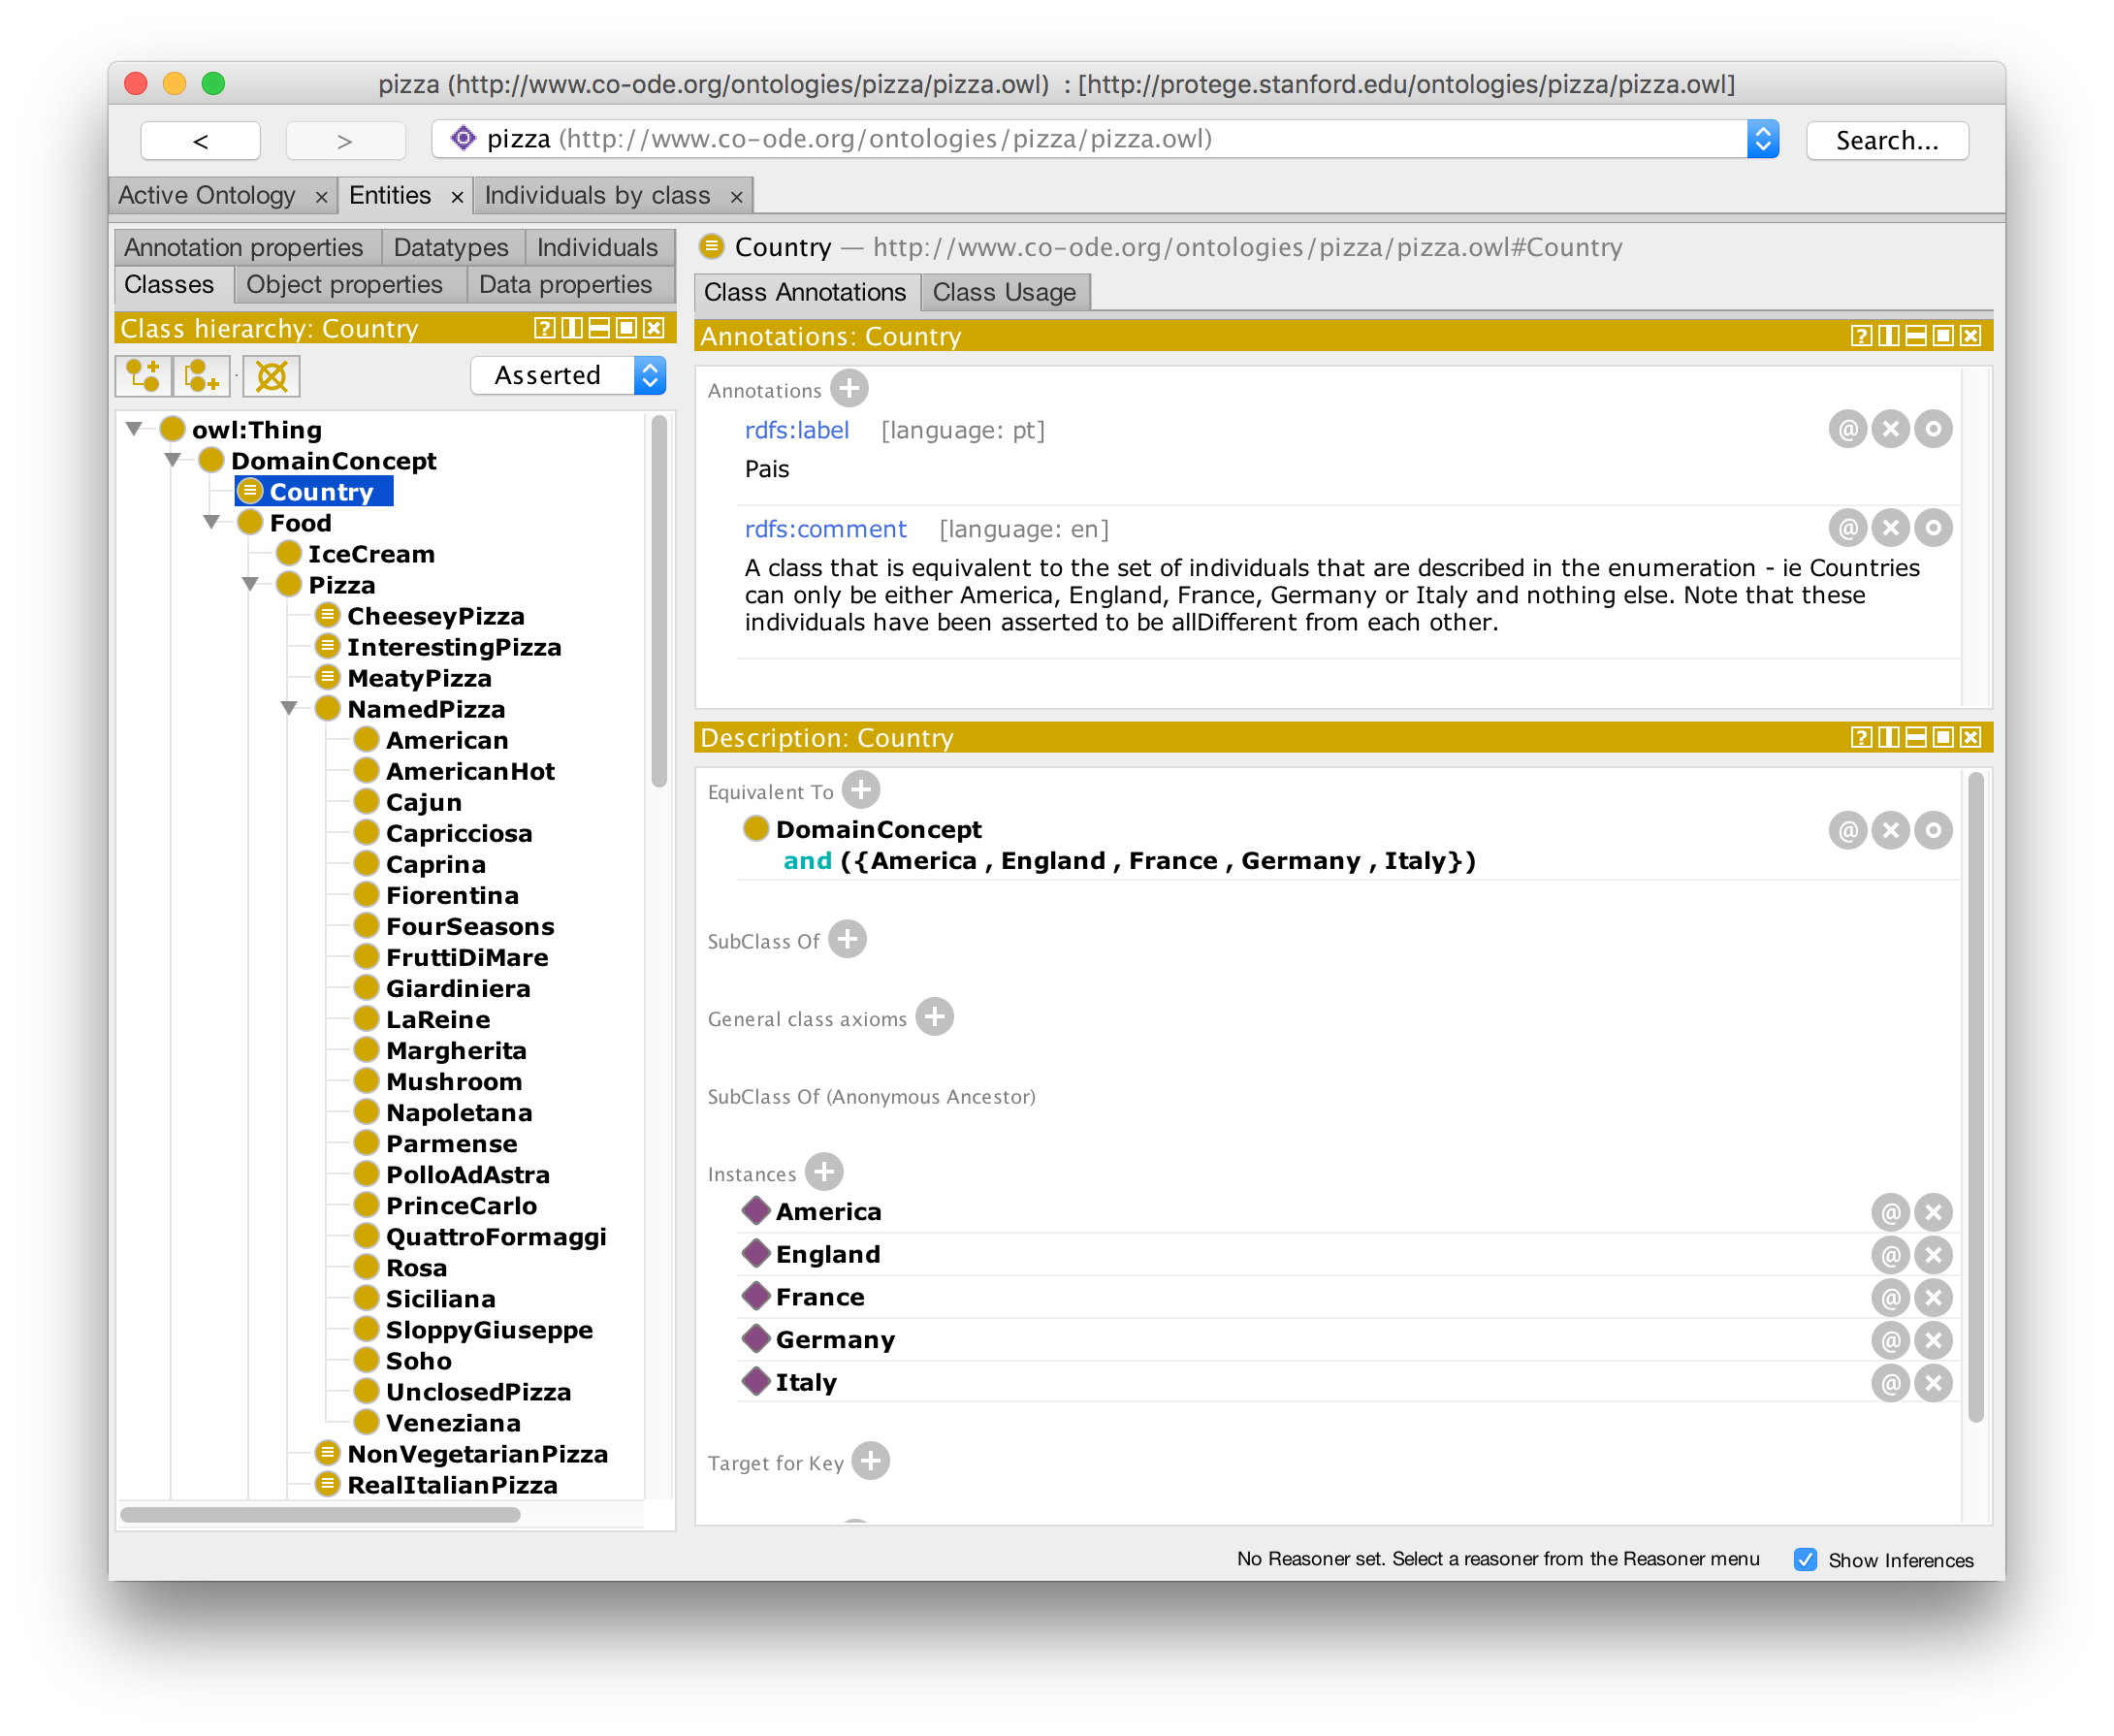
Now switch to the Entities Tab.
The Entities tab is the workhorse of the ontology editor. From this location, you can explore all of the classes, properties, and individuals in an ontology. As you may have already noticed, each tab is made up of several views which can be resized, removed, floated, split, and layered (more about views later). The selection model is global: when a class, property or individual is selected in the trees on the left-hand side, the right pane changes to display the selection immediately. In addition, most views implement hypertext navigation so that links can be followed easily regardless of which view you are using. Opening up the hierarchies and selecting a class or property displays the appropriate description on the right. Backward and forward navigation is possible with the left and right arrow buttons in the toolbar, which act just like a Web browser.
Another easy way to navigate around the contents of an ontology is to perform a search. The Search… button in the toolbar performs a global search in the loaded ontologies. In addition, the various hierarchy views have their own search dialogs (to activate a view search dialog, click anywhere in the required view to give it focus, then press CTRL+F (or CMD+F on a Mac).
Reasoning
Reasoning over your ontology is a commonly performed activity and Protege comes with a built-in reasoner called HermiT. To reason over your ontology, open the Reasoner menu and select HermiT. Next press Ctrl+R (or CMD+R on a Mac). This will start the reasoner. After the reasoner finishes you can inspect your ontology to view inferred information. For example, select American in the class hierarchy (under NamedPizza, which is under Pizza, which is under Food, which is under DomainConcept). Notice that some of the information on the right hand side is displayed with a yellow background - this is inferred information. In other words, it is information that has been computed by the reasoner.
You can also switch to the inferred class hierarchy using the drop down box in the top right of the class hierarchy. Notice the difference between this inferred hierarchy (the hierarchy computed by the reasoner) and the asserted hierarchy (the hierarchy written down in the ontology).
There are other reasoners available for Protege, including Pellet and FaCT++. These reasoners are available for download from the File > Check for plugins… menu item.

Investigate other tabs
-
OWLViz - requires installation of GraphViz before anything will be visible. This tab shows a graphical representation of the class subsumption hierarchy. A full description of OWLViz is available in the OWLViz manual.
-
DL Query - requires the ontology to have been classified before it will return results. An arbitrary class description can be entered and the reasoner is queried for the sub/super classes, inferred members, etc., depending on what is selected.
Investigate views
Each tab is made up of multiple views - each with its own perspective on the ontology, or just one aspect of the ontology (like the last selected class).
Views can be stacked on top of each other, in which case you will see additional tabs for exposing them. Examples of this are the usage views that are by default on the Entities, Classes, Properties and Individuals tabs. Select the tab to make the view visible.
All of the views that are on tabs by default and many more that aren’t are listed in the Views menu. You can add and remove views to create you own custom interfaces (see below).
Reconfigure the User Interface
Reconfiguring the user interface is easy. Adding and removing tabs and views is possible through the Tabs and View menus. Try adding a view to the Entities tab:
- Switch to the Entities Tab
- Select a class to make sure the Selected Entity view is showing class views.
- Select Window > Views > Class Views > Superclass hierarchy. Now, when you move the mouse pointer over the Entities tab, a blue outline shows where the new view will be dropped - either on top of, above, below, left, or right of each of the current views. Move the mouse around to see how this works.
- When happy with the position, click the left mouse button to drop the view (if you want to cancel this operation just click somewhere on the toolbar instead).
- The superclass tree view is now visible (the tree shows the “upside-down” version of the subclass tree, using the current class as the root).
All changes will be saved when Protege is properly shut down (or the save can be forced by selecting “Save current layout” in the Window menu).
For a demonstration on view manipulation please watch the video below.
For a demostration on how to add, reset and close tabs please watch the video below.
Human Readable Entity Names
Many ontologies, in particular biomedical ontologies, use alpha-numeric codes as the identifiers of classes, properties and individuals. If your class hierarchy just looks like a jumble of numbers or other computer-generated codes, but you have labels for each entity, you can ask Protege to use these labels when displaying entities instead.
- Select File > Preferences.
- Select the Renderer tab of the preferences dialog.
- Choose Render entities using annotation values.
- Where labels are provided, Protege will now display these in all views. If a label is missing it will continue to show the entity’s Id.
- The annotation that is getting used to render the label (as well as the language) can be selected by pressing the Annotations… button.
The current renderer selected will be preserved next time you open Protege to save this step in the future.

What Next?
Having familiarised yourself with the /protege user interface you could try our fast and dirty guide to building a pizza ontology in 10 minutes.